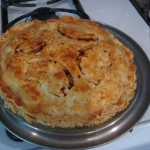
 …and by classic, I am afraid I might mean Crisco®, because they are the ones from whom I garnered this recipe. I have always preferred pie to cake, but the crusts take a bit of practice to make. My mother is an incredibly good pie maker, and even worked for a time cranking out pies for a place called “Mom’s Pie Factory.”
This is enough for one single crust. For two pastry shells or a pie with a top crust, double the recipe. Not rocket science, folks.
Ingredients:
- 1 cup all purpose flour
- 1/2 tsp salt
- 1 pinch of sugar
- 1/3 cup ice cold solid shortening
- 2 Tbsp ice cold butter
- 3 Tbsp ice cold water
Step 1, sifting the dry ingredients: In a large bowl sift (mix if you don’t have a sifter) the flour, sugar, and salt. Mix thoroughly.
Step 2, pastry cutting: Cut in the ice cold shortening and sliced butter,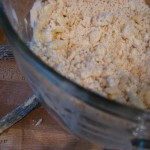 using either a pastry cutter or a knife. I suppose some processer thingy can do this, too, but I don’t own one. The result should be crumbly.
(Just a note: with pie crusts and crackers, you are, in effect, using the oils to fry the flour, this is what makes it crispy and flakey)
Step 3, adding the water: as simply as possible–working pie or biscuit dough too much makes it tough–add in the water. It needs just enough to make it a dough, not any more.
Step 4, roll with it baby: Flour a clean, smooth counter surface (tables, desks and 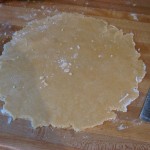 sarcophagi will do, too, just so it is smooth, cool, and has plenty of space), and a rolling pin. flour the ball of dough, and pat it down to spread it out. Roll out the dough gently, a little at a time, starting from the middle and moving outward. if the edges become raged, moisten them, fold them in, and roll them again.
Step 5, into the pan: transfer the rolled out crust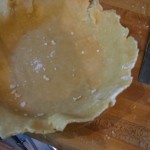 into the pan. You might roll it onto the pin and unroll it, or a variety of strategies–I loosen it from the counter with a spatula, and then slide it to the edge and over/into the pan. Pat it down, trim or fold the edges of the dough over, and then crimp the edges. some folks like fork prints, I like to pinch a wavy zig-zag edge meandering around the pan.
Step 6, baking: Bake the shell by itself if you are going to fill 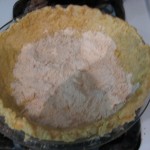 it with something, or insert your ingredients here. (to be continued…)
