![]() editor’s note: The staff of the Bistro has moved to an orchard and nursery in the Finger Lakes of New York. I first made this recipe for a wonderful Easter dinner, but because of how our little farm is, I had to try to come up with something that could be eaten by Vegans or folks on a Paleo diet, and which would still be good enough to steal.
editor’s note: The staff of the Bistro has moved to an orchard and nursery in the Finger Lakes of New York. I first made this recipe for a wonderful Easter dinner, but because of how our little farm is, I had to try to come up with something that could be eaten by Vegans or folks on a Paleo diet, and which would still be good enough to steal.
This recipe is animal free, gluten-free, low sugar, alcohol free.
Almond Apple Torte
1 pound almond flour (3 1/2? 4ish cups?)
1/2 cup sliced almond
3 medium sized apples
2 cups water
3 Tbs coconut oil
3 Tbs and a little more maple syrup
2 Tbs rose-water
1 tsp. baking powder
dash lemon
dash ground cinnamon
Berries or some other fresh fruit (or more apples)
Step 1, mixing the frangipany-ish filling: in a medium saucepan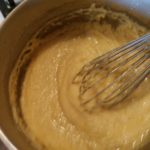 (leave room for whisking or fluffiness), heat the water. Add the syrup and the rosewater and dissolve, then gradually add the almond flour, whisking constantly so that it doesn’t clump. Cover the mixture and let it sit for a while so that the almond absorbs the moisture.
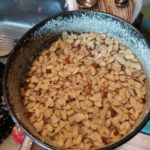 Step 2, Prepare ye the pan: pre-heat the oven to 350, grease the pan & flour it with almond flour; I used a 9 by 3 springform pan, which makes the cake easiest to remove. Also sprinkle the bottom of the pan generously with thin almond slices.
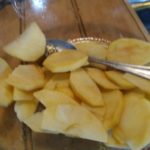 Step 3, a golden lining: peel and slice the apples into thin slices. Toss them i
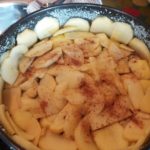 n a little bit of maple syrup, cinnamon and lemon juice, and layer the slices on the bottom and sides of the cake pan. Strangely enough, this is a pie where the apples are the crust, and the dough is the filling. Go figure.
Step 4, whip it up: either with the whisk, or with a mixer, add the coconut oil, some lemon juice, and the baking soda to the almond 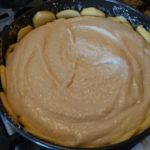 filling mixture and whip it a bit to get some air in it.
Step 5, putting it in the pan/pans: gently fill the pan with the almond mixture and smooth it down. An option at this point would also be having more apple slices and arranging them on the top of the torte.
Step 6, pop it in the oven for baby & me: bake the pans at 350 for 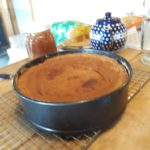 35 minutes or so, until it doesn’t behave like a liquid. It should be a light brown. It will puff up, and then settle. Take it out and set a wire rack to cool.
Step 7, decorating and serving: it is tasty by itself. I put berries on the top, partly for the variety of color, partly for the variety of flavor. a whipped topping, a glaze, or a compote of some sort would be possible, as would some sort of frozen desert.
 Enjoy!


YUMMY looking!